
Why Prep Is Everything When It Comes to Ceramic Coating
If you've spent good money on a quality ceramic coating, the last thing you want is for it to underperform because the prep work was rushed. Ceramic coatings are designed to bond directly to your car's clear coat, which means whatever condition the paint is in at the time of application is the condition that gets locked in, for years.
Get the prep right, and you're sealing in a flawless, glass-like finish with long-lasting hydrophobic protection. Skip it, and you risk sealing in swirl marks, contamination, and bonding failures that can be impossible to fix without stripping the coating entirely.
The good news? With the right products and a careful approach, DIY prep is absolutely achievable, regardless of whether you're working on a brand-new car fresh off the factory floor or an older daily driver with a few signs of age.
Let's break it down.

Step 1: Understand Your Starting Point — New vs. Old
Not all vehicles walk into a ceramic coating job in the same condition. Before you even pick up a wash mitt, you need to assess what you're working with.
Brand New Car
It sounds counterintuitive, but new cars often require some of the most careful prep work. Dealerships frequently apply tyre dressings, wax-based protective coatings, and detailing sprays across the whole car before it leaves the lot. While these are steps to make the car look extra glossy on delivery, these don’t last long and can interfere with ceramic bonding if they're not fully removed.
New cars can also have minor transport contamination, fine iron particles, industrial fallout, and even light swirl marks from dealership wash processes.
Your mission with a new car: Strip all dealer-applied products, decontaminate thoroughly, and create a chemically clean surface ready for bonding. In most cases, paint correction can be kept minimal; a light polish pass is often enough.
Demo Vehicle
Demo cars are a different story. They've been driven, cleaned (sometimes poorly) and are often subject to repeated wash cycles with inconsistent products. Swirl marks from improper washing are common, and there may be a mix of wax or spray sealant residues left over from previous detailing attempts.
Your mission with a demo: Plan for a more thorough decontamination and at least a one-step paint correction before coating. Assume the paint is more compromised than it looks under showroom lighting.
Older Car (3+ Years)
Older vehicles have had time to accumulate everything: embedded iron fallout, water spots, oxidation, scratches, and years of wax or sealant layers. The more neglected the car, the more prep stages you'll need.
Your mission with an older car: Full decontamination, possibly a two-stage paint correction, and thorough panel wipe-down. There's no cutting corners here; the coating will amplify any defects left behind.
Step 2: The Pre-Wash (Don't Skip This)
Before any contact washing, do a proper pre-wash (link to previous blog here) to loosen and remove as much loose dirt and contamination as possible. Skipping this step means dragging grit across paint during your main wash, a guaranteed way to introduce swirl marks before you've even started.
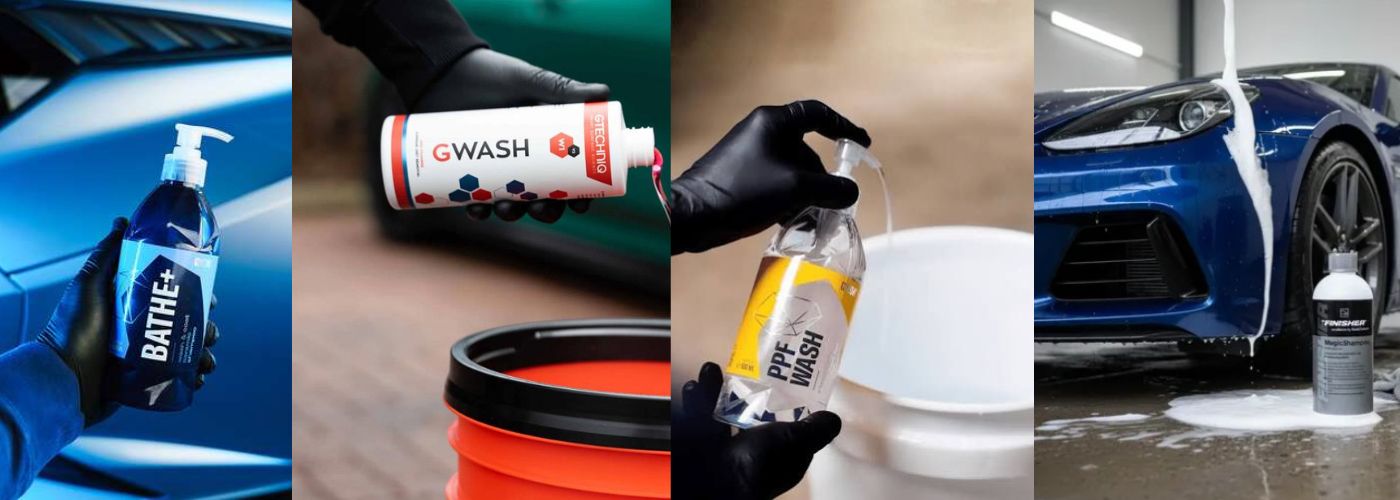
Use a quality snow foam or pre-wash spray and let it dwell. Mint Snow Foam and GYEON Foam are great options to consider here.

Pain point if you skip it: You'll drag abrasive particles across the paint during contact washing, creating light scratches that will need correcting, adding unnecessary time to your prep.
Step 3: The Main Wash
Follow up the pre-wash with a thorough two-bucket wash using a pH-neutral shampoo and a clean microfibre wash mitt. Work top to bottom, panel by panel, rinsing the mitt frequently.
The goal here is a clean surface to carry out your decontamination steps, not a finished product. Don't apply any dressings or quick detailers at this stage.
If you're prepping a demo or older vehicle, or any car that's previously had wax, sealant, or spray detailer applied, it's well worth incorporating a dedicated degreasing wash into this stage. Standard pH-neutral shampoos are designed to be gentle, which is great for regular washing. That gentleness, however, means they won't cut through silicone residues, polish oils, or stubborn hydrocarbon contamination. This is why using a product like GYEON’s Degrease Tabs is a great option for older cars. They are a step up from regular car shampoos, stripping your paint of any protective layers that may have been previously applied.

For brand new cars with minimal product buildup, your standard shampoo may be sufficient at this stage, and you'll be doing a full panel wipe with a dedicated surface prep product later anyway. But for anything that's had prior protection products applied, a degreasing wash at Step 3 sets you up for a cleaner, more effective decontamination in the steps ahead.
Pain point if you skip it: Residual silicone, wax, or polish oils left on the surface interfere with both the iron remover and clay stages, reducing their effectiveness, and can ultimately compromise how well the ceramic coating bonds to the clear coat.
Step 4: Chemical Decontamination — Iron Remover
Iron fallout is invisible to the naked eye but absolutely present on every car that's been driven on Australian roads. It embeds into the clear coat and will prevent a ceramic coating from bonding properly if left in place.
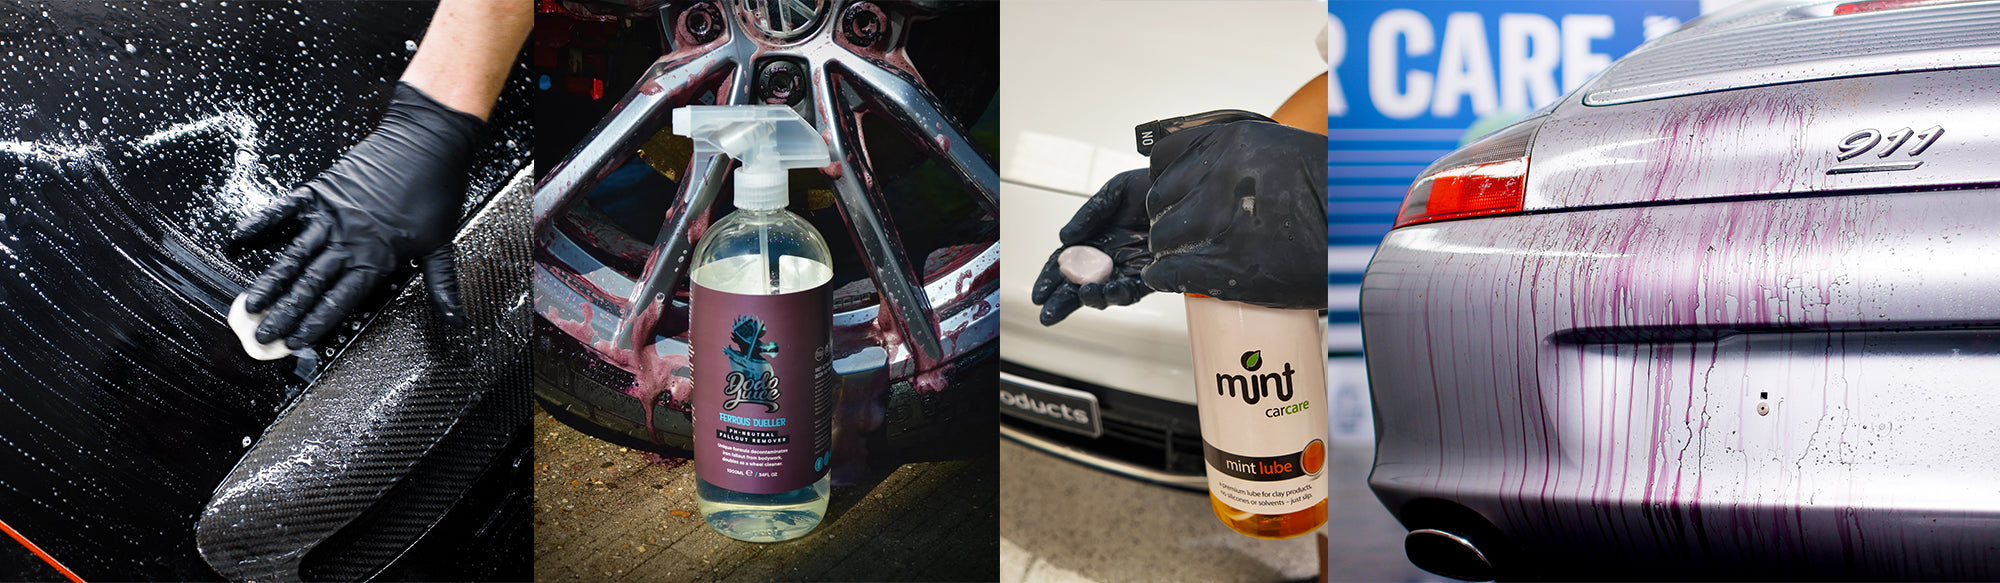
Apply a dedicated iron remover across all painted panels and allow it to dwell. Watch for the purple/reddish colour change, that's the iron dissolving. Rinse thoroughly.
Gyeon Iron REDEFINED is a reliable choice for this step, reacting visibly with embedded ferrous particles and rinsing away cleanly. For heavier contamination on older or demo vehicles, a second pass may be needed.
Pain point if you skip it: Iron particles remain embedded under the coating, creating microscopic bonding failures and reducing coating longevity.
Step 5: Clay Bar Decontamination
Chemical decontamination handles iron, but a clay bar removes the physically bonded contaminants that chemicals can't shift, such as tree sap, industrial fallout, road tar deposits, and paint overspray.
Work panel by panel using a clay lubricant or quick detailer. Use light pressure and let the clay do the work. After claying, the paint should feel noticeably smoother, like glass rather than sandpaper.
The Mint range offers quality clay options that are forgiving for beginners while still performing well on more heavily contaminated surfaces.
Pain point if you skip it: The surface may look clean but still have bonded contaminants that sit between the coating and the clear coat, compromising adhesion.
Step 6: Paint Correction
This is where honesty is your best friend. Inspect the paint under a bright LED light or inspection lamp and look critically at what's there: swirl marks, light scratches, water spots, and holograms.
Paint correction removes these defects mechanically using a dual-action polisher with a cutting or polishing compound. The level of correction required depends on your starting point:
-
New car: Light finishing polish to remove any wash marring and enhance gloss
-
Demo car: One-step correction with a mid-cut compound or polish
-
Older car: Potentially a two-stage process, compound first, then finishing polish
Menzerna polishes are a standout choice for DIY correction. Their Medium Cut Polish (2400) is beginner-friendly and effective on light-to-moderate defects, while the Heavy Cut Compound (400) handles more serious swirling and scratching. Follow up with a finishing polish for a refined, coating-ready surface.

Pain point if you skip it: Ceramic coatings are semi-permanent. Swirl marks sealed under a coating stay there for the life of the coating, often 2–5 years. Correction is far easier before coating than after.
Step 7: Panel Wipe / IPA Wipe-Down
After paint correction, polishing residue, oils, and lubricants remain on the surface. These need to be fully removed before the coating goes on; they will prevent proper bonding.
Use a dedicated panel wipe or isopropyl alcohol (IPA) solution and wipe down every panel section by section with a clean, folded microfibre cloth. Flip the cloth frequently and use fresh cloths for each panel if possible.
GYEON Prep is purpose-formulated for this step, stripping away all residual polishing oils and silicones to leave a chemically neutral, coating-ready surface. It's one of the most important products in your prep kit.
Pain point if you skip it: Polish oils prevent full chemical bonding. Even a coating applied to a visually clean surface can fail to adhere properly if residual lubricants are present.
Step 8: Final Inspection
Before opening the coating bottle, do a final inspection under strong lighting. Look for any remaining defects, polish residue, or areas that may need attention.
Once you apply a ceramic coating, the clock starts. You won't get the opportunity to go back and correct panels once the coating begins to cure.
Mint Premium Microfibre Cloths can help here, wiping across panels in good light to identify any areas that feel rough or look uneven.
Coating Application — A Brief Note
Full ceramic coating application is a separate topic, but a few quick reminders as your prep concludes:
-
Work in a clean, shaded environment, ideally between 15–25°C
-
Apply in small sections (one panel or less at a time)
-
Follow the manufacturer's flash times carefully before buffing
-
Allow full cure time before exposing the car to water or elements
Gyeon, Gtechniq, and Duragloss all offer DIY-friendly ceramic coating options that provide excellent results with proper prep behind them.
The Bottom Line
Ceramic coating prep isn't glamorous, but it's where the result is won or lost. Whether you're working on a factory-fresh new car, a demo with a questionable service history, or an older vehicle in need of serious attention, the steps are the same. The depth of each step just varies.
Take your time, use quality products from trusted brands, and don't rush the decontamination and correction stages. Your coating will bond better, look better, and last longer for it.