
If you’ve ever washed your car until it gleamed in the sun, only to glide your hand over the paint and feel tiny bumps, you’ve just uncovered a hidden problem: bonded surface contamination. These aren’t specks of dirt you missed during washing. They’re embedded particles buried in your clear coat, invisible to the eye but slowly destroying your finish over time.
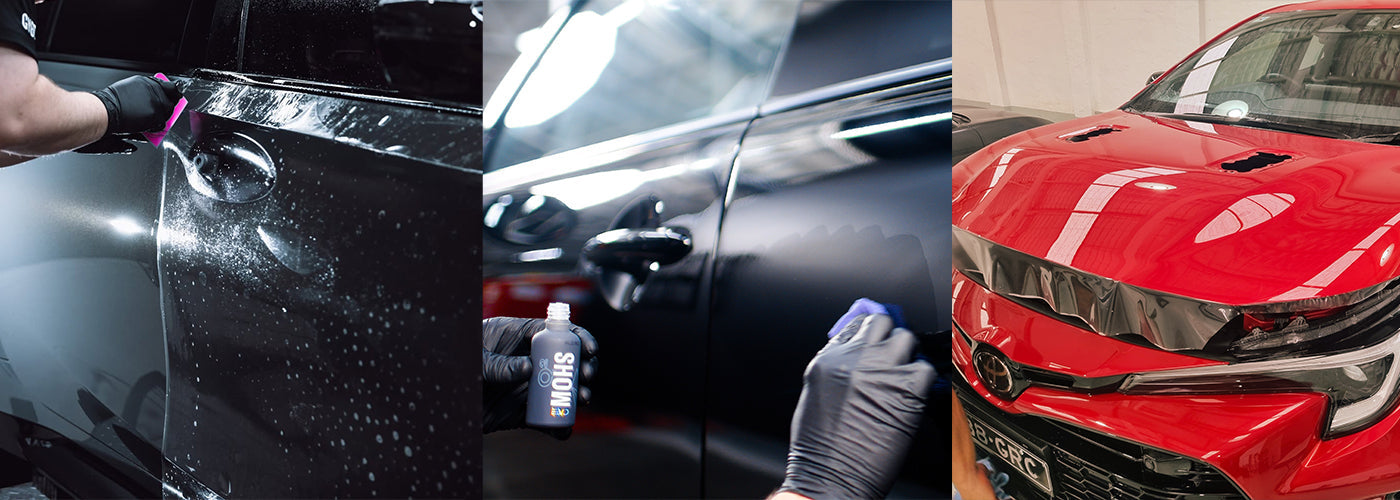
This is where the clay bar steps in. Far from just another detailing gimmick, it’s a professional-grade tool designed to do one thing brilliantly: remove contamination that regular washing simply can’t touch. Whether you’re an enthusiast chasing perfection or a pro maintaining high standards, learning to clay correctly is one of the fastest ways to improve your car’s paintwork.
In this guide, we’ll explain what a clay bar is, why it’s essential, how to use it safely, and how to avoid common mistakes. By the end, you’ll know how to transform your paintwork from rough and tired to smooth, glossy, and ready for protection.

What Is a Clay Bar and What Does It Do?
A clay bar might look like just a grey piece of putty, but it’s a purpose-built detailing compound made from synthetic resin. Its slightly tacky surface grabs and pulls bonded contaminants out of the car's exterior clear coat without cutting into it. This clay process helps ensure that the paintwork is free from imperfections, leading to a smoother finish. When paired with the right lubricant, a clay bar removes:
- Brake dust – tiny iron particles from your brakes that embed into paint and wheels.
- Industrial fallout – microscopic shavings from railways, factories, or heavy traffic zones.
- Paint overspray – floating paint particles from nearby bodywork or spray booths.
- Water spots – mineral deposits left behind by hard water, sometimes referred to as clay bar spots.
Regular washing takes care of surface dirt, but the claying process digs deeper, lifting what your mitt can’t touch. After a proper clay bar treatment, your paint will feel like polished glass, the perfect foundation for wax, sealant, or ceramic coating to bond to. Ensuring all clay bar residue is removed post-treatment is essential for the best finish, maintaining the car's factory clearcoat gleam over time.
Why Claying Is Essential for Every Car
Even if your car is straight off the showroom floor, it’s already contaminated. Between transport films, rail dust, and pollutants, new cars often arrive with rough patches you can’t see but will feel. Claying is the step that brings the paint back to factory-fresh condition.
The benefits of claying:
- Restores a flawless, glassy surface — perfect for that just-detailed feel.
- Prevents long-term damage — rail dust and other embedded particles can oxidise and eat into the clear coat if left untreated, a concern especially for those wishing to maintain their car as a masterpiece.
- Improves bonding for waxes, sealants, and coatings — protection lasts longer on contaminant-free surfaces, a crucial step before applying premium car coatings to shield against environmental factors.
- Boosts gloss — removing dulling particles helps paint reflect light evenly.
- Protects against swirl marks during polishing — polishing a dirty surface grinds contaminants into the paint, making paint correction more challenging. Neglecting this step can lead to disastrous results akin to painting over dust. You can polish and wax as much as you like, but you’ll never achieve a flawless finish unless the surface is completely clean.
How Often Should You Clay?
Claying isn’t something you do every weekend. Overuse can wear down clear coat unnecessarily, but leaving contamination unchecked is just as bad. Incorporating a clay bar treatment into your routine is crucial for maintaining your vehicle's surface. As a rule of thumb:
- Every 3–4 months for daily drivers parked outdoors.
- Twice a year for garage-kept or weekend cars.
- Always before major detailing work — like polishing, waxing, or ceramic coating.
Using a clay bar car treatment helps remove contaminants like iron particles and tree sap, enhancing the outcome of subsequent detailing steps.
The Plastic Bag Test: Slip your hand into a sandwich bag and glide it over freshly washed paint. The bag magnifies imperfections. If you feel bumps or grit, it’s time to clay, ensuring you leave no clay residue behind for optimal preparation.
What You’ll Need for a Proper Clay Bar Session
A successful claying job is about more than just the bar itself. Here’s your checklist:
Choose the Right Clay Grade:
- Fine grade — ideal for light contamination and newer cars.
- Medium grade — handles moderate contamination, good for most vehicles.
- Heavy grade — for severe contamination, but follow with polishing to remove any marring.

Essential Tools:
- High-quality clay bar (or a clay towel if you prefer modern alternatives)
- Dedicated clay lubricant — avoid plain water as it’s not slick enough. Using Clay Lube is an absolute must for this process, as using dry Clay will cause more harm than good.
- Plush microfibre towels for drying, which help in efficiently removing excess clay lube and ensure no residue is left behind. These cloths are soft yet effective for delicate surfaces.
- Optional: Ziplock or any type of sealable bag to store clay and keep it fresh, preventing drying out.
Pro tip: If the clay starts dragging or feeling sticky, spray more lubricant. Friction is your enemy, lubrication prevents marring, especially on sensitive surfaces like chrome, and makes the job safer.
How to Use a Clay Bar Like a Professional
With the right kit, the process is simple. Here’s a safe, methodical way to clay your car:
Step 1: Wash Thoroughly
Start with a clean surface. Use the two-bucket method with a pH-neutral shampoo to remove loose dirt and grit. Rinse thoroughly and dry the car to avoid transferring debris onto the clay.
Step 2: Chemical Decontamination
To assist your clay’s performance, it is beneficial to perform a chemical decontamination to remove bug residue, tar and iron deposits before you move the clay. A quality Bug and Tar and/or Iron remover, such as Gyeon Iron and Tar or Dodo Juice Ferrous Dueller Iron Remover, will strip away the iron left on your paint.
Step 3: Prepare the Clay
Break off a small piece, about the size of a golf ball, and flatten it into a disc. Never use the entire bar at once. If you drop it, it’s ruined, and you’ll have to throw it out.
Step 4: Lubricate Generously
Going to mention Lubrication again, as it is a must while claying your car to produce solid results. Plain Water will not do the job either; you need a solution that allows the Clay to glide effortlessly but still allows it to remove the remaining contaminants on your surface. Work on small sections, roughly 0.5m x 0.5m. Spray liberally on both the panel and the clay surface.

Step 5: Glide the Clay
Move in straight lines (up and down or side to side), not circles. Use only light pressure. At first, the clay may feel as if it’s “grabbing” the surface; that’s contamination being removed. When it glides smoothly, the panel is clean.
Step 6: Inspect and Fold
Check the clay regularly. If you see dirt, fold it to expose a clean surface and flatten it again before continuing.
Step 7: Wipe and Protect
After each panel, wipe away residue with a clean microfibre towel. When the entire car is done, immediately protect it with wax, sealant, or ceramic coating to lock in that freshly cleansed finish. Using a clay bar treatment beforehand ensures any clay residue and embedded grime are effectively removed, preparing the surface for ultimate protection against UV rays and environmental contaminants.
Advanced Pro Tips
- Work in the shade — Heat makes clay and lubricant dry too quickly, which can lead to increased clay residue.
- Use different clay for wheels — Brake dust is harsh. Never reuse wheel clay on paint to ensure you don't risk damaging the factory clearcoat.
- Don't use all of your Clay Bar at once — Clay Bars are fairly soft, and can be broken up relatively easily. To extend the life of your bar, break off a small piece of clay, enough to fit the palm of your hand, and knead it until it is soft and pliable. Keep the rest of the clay secure in the packaging it came in or a sealable bag for future use.

- Replace clay regularly — If it looks too dirty or starts falling apart, swap it out. This is why we recommend breaking off a section of your clay bar to use, so only one bit is soiled by use. There is no exact number of uses, but if you think the clay is too old or dirty, trust your gut and swap it out. Old clay can leave unwanted clay residue on your car's surface. If you drop your clay, no matter how clean your workspace floor is, throw it out.
Common Mistakes to Avoid
Even detailers make these errors:
- Pressing too hard — More pressure doesn’t clean faster; it just risks damage. This can lead to micro scratches, making your car's paint look dull. Gently run your fingertips over the panel after claying to ensure no imperfections linger.
- Claying a dirty car — Always wash first to avoid dragging grit into paint. Using a wax wash before claying removes surface debris, minimising abrasives. You can find guides on how to perform this on various websites.
- Skipping protection — Bare paint is exposed after claying; sealing it is non-negotiable. Apply a quality wax or paint correction product to protect your car.
- Using water as a lubricant — Insufficient lubrication leads to scratches. Instead, use a proper clay lube to prevent swirls and clay residue, a process often discussed in auto detailing blogs.

Clay Bar Alternatives: Are They Worth It?
Modern synthetic options are becoming more popular:
- Clay Cloths — Microfibre towels with a polymerised clay surface, ideal for use with clay lube to ensure a smooth application. Perfect for minimising fatigue and easy on the hands, making it a magical experience for the user.
- Synthetic clay discs — Attach to DA polishers for speed, offering a quick clay process when coupled with machine polishing, but don’t provide the ability to feel the surface of your car, which allows you to know if you have done the job correctly.
These tools are faster, reusable, and easy to clean, but traditional clay bars, especially fine clay bars, still offer unmatched precision on heavily contaminated paint. Furthermore, a clay bar kit provides all necessary components, including a microfiber towel and clay lube, for an effective clay bar treatment. Don't forget, adding these tools to your cart can be a convenient way to ensure you've got everything necessary before you start detailing.
Final Word: Why Claying Is Non-Negotiable
Claying isn’t just an “extra step” in detailing. It’s the foundation for everything that comes after. By removing bonded contaminants, you protect your clear coat, improve gloss, and give waxes, sealants, or ceramic coatings a perfect surface to bond to.
Whether you use a bar, mitt, or towel, claying is simple, satisfying, and transformative. If you want your car to look and feel its best, don’t just wash it, clay it.
Quick FAQs
Can I clay a brand-new car?
Yes. New cars still pick up transport contaminants and need claying before protection.
Will claying remove scratches?
No. It only removes contamination. Scratches require polishing.
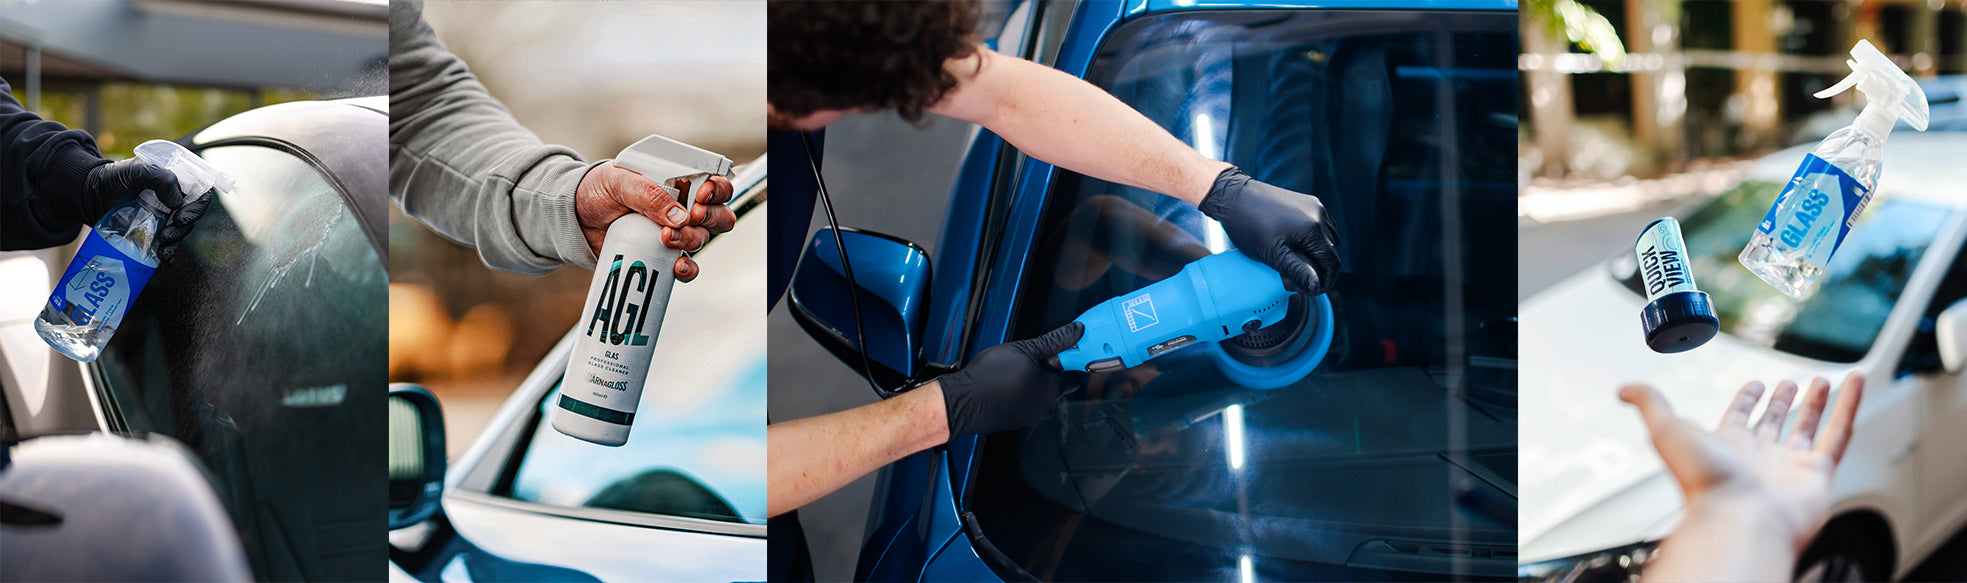
Can I clay glass?
Absolutely. It works wonders on windscreens and helps remove stubborn water spots.
How should I store a clay bar?
Keep it sealed in a bag with a spritz of lubricant to prevent drying out.
Is claying safe for matte paint?
No. Claying can alter the finish. Use matte-safe chemical cleaners instead.